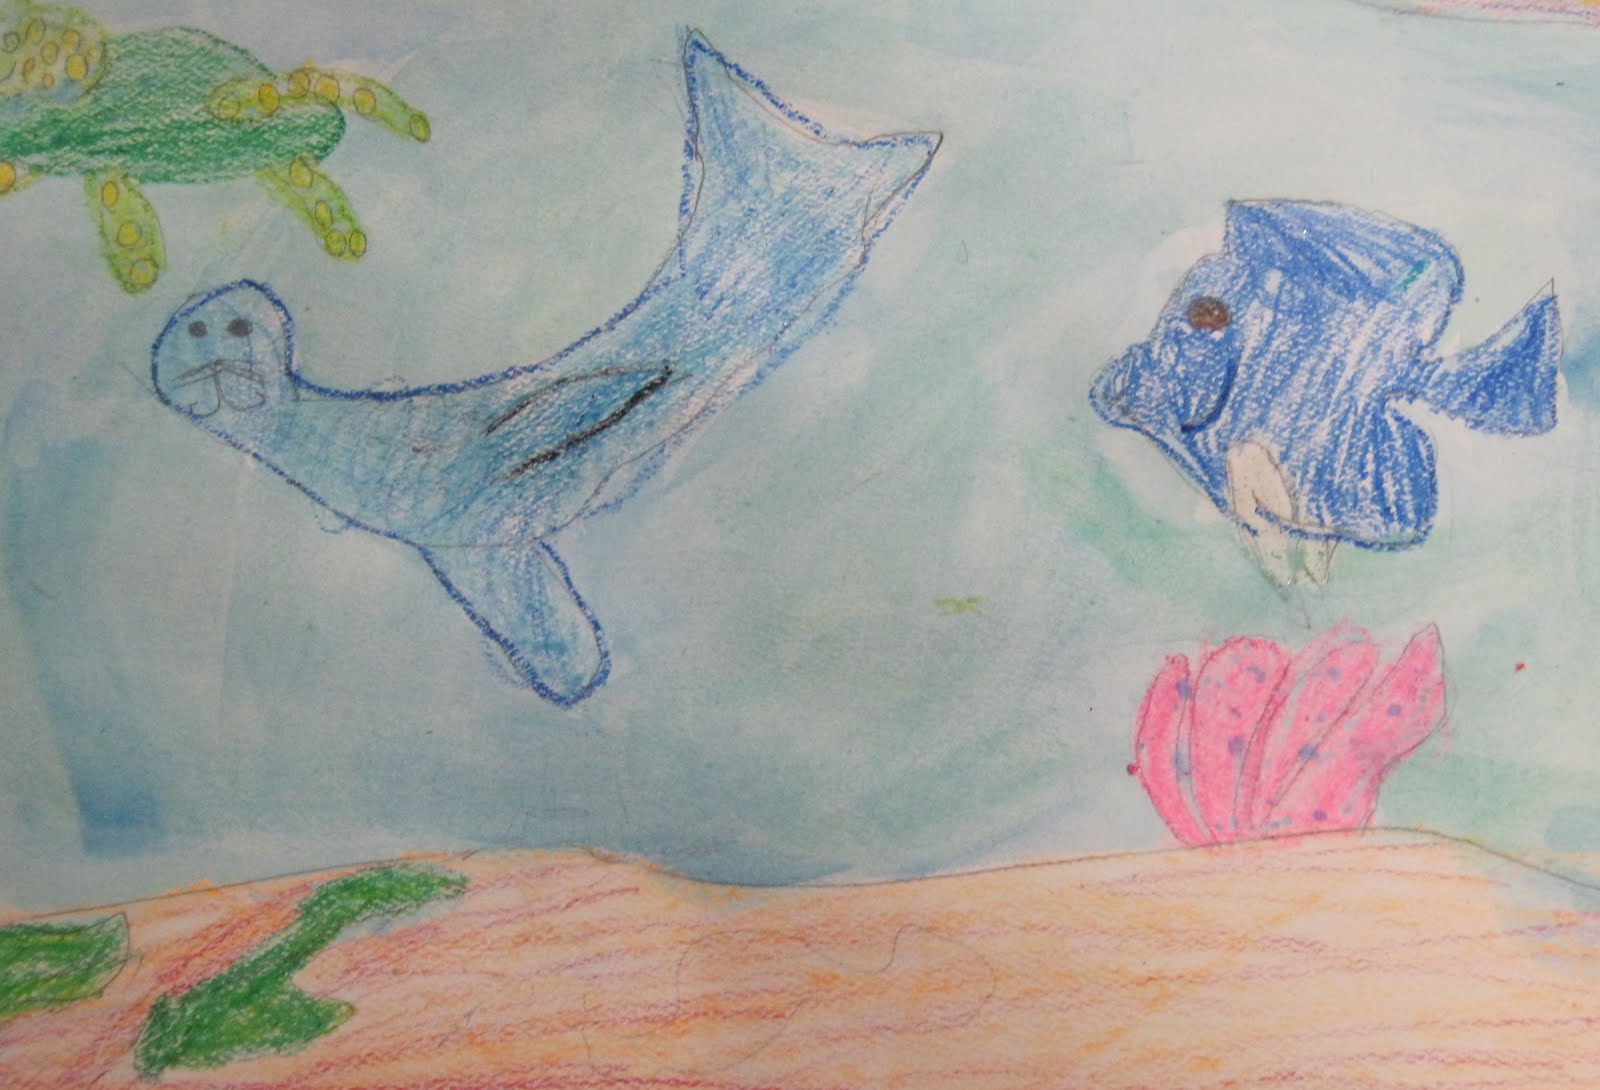
I did this project with my nature-themed art camp. The kids really enjoyed looking at all the photographs of different sea creatures. I brought in several books about marine fish for them to look through, in addition to reference photographs. We spent several minutes brainstorming animals and discussing the wide variety of plants and animals that live in the ocean.
The materials you will need for this project are:
Pencils
Watercolor paper
Oil pastels or crayons
Blue, Purple and Green watercolor paint
Large watercolor brushes
The kids started out by drawing their sea creatures with pencils. I required at least three animals in the picture. Then, they colored their animals using the crayons. An important part of this activity is encouraging them to bear down hard when coloring. Don't forget to tell the kids that any areas that they want to be white need to be colored with white crayons or oil pastels. We used crayons in my camp because I had such a wide variety of ages. Oil pastels would probably yield better results and can be blended with a little baby oil on a q-tip but they are too messy for the little ones. After the kids have colored all of their animals, they can use the watercolor paint to create a wash over the entire paper. The paint will just bead up on the crayon areas and can either be left alone or wiped off with a paper towel. I let the kids choose any combination of green, blue or purple paint. Some students chose to add salt to their paintings to create a bubble effect. I think these turned out really great and were a good summer activity when so many children were going to the beach on vacations.


This project is so easy and because it's messy the kiddos love it! I did it with 6-10 year olds but I added the watercolor myself for the 6 year olds.
The materials you will need are:
Heavy Watercolor Paper or Card Stock
Liquid Watercolor Paint (available at any crafts or art supply store)
Shaving Cream Foam- not gel (the cheaper the better)
Pieces of scrap cardboard
A disposable baking pan or cookie sheet
Pencil or Chopstick for swirling
I started by cutting the paper into 5x7 sheets. I was thinking the kids could fold their creations in half and then use them as notecards but they could also draw right on top of the marbling with oil pastels or crayons. Then, I sprayed about an inch of shaving foam into the baking pan and spread it around using my scrap cardboard squeegee. I gave the kids three color choices and they could pick which combination of the colors they wanted to use. I helped them put a few drops of each color into the center of the shaving cream. Then, gave them the pencil to swirl their colors around in the shaving cream. Too much swirling will result in less marbling, more blobs. Make sure the kids incorporate the surrounding shaving cream as this is what creates the marbled pattern. When they have the pattern they want, I let them lay their white paper on top of the shaving foam and gently push down so every part of the paper is touching the foam. Then, I peel the paper up and use my trusty squeegee to remove all of the foam and like magic- their design remains behind. I hang these to dry using clothespins but they can dry flat too. They may need to spend the night under a hefty stack of books after drying to really flatten them out. Fun stuff!!